Work From Home
How to Turn a Snake Plant into a Spiral Shape (Realistic DIY Method That Actually Works)
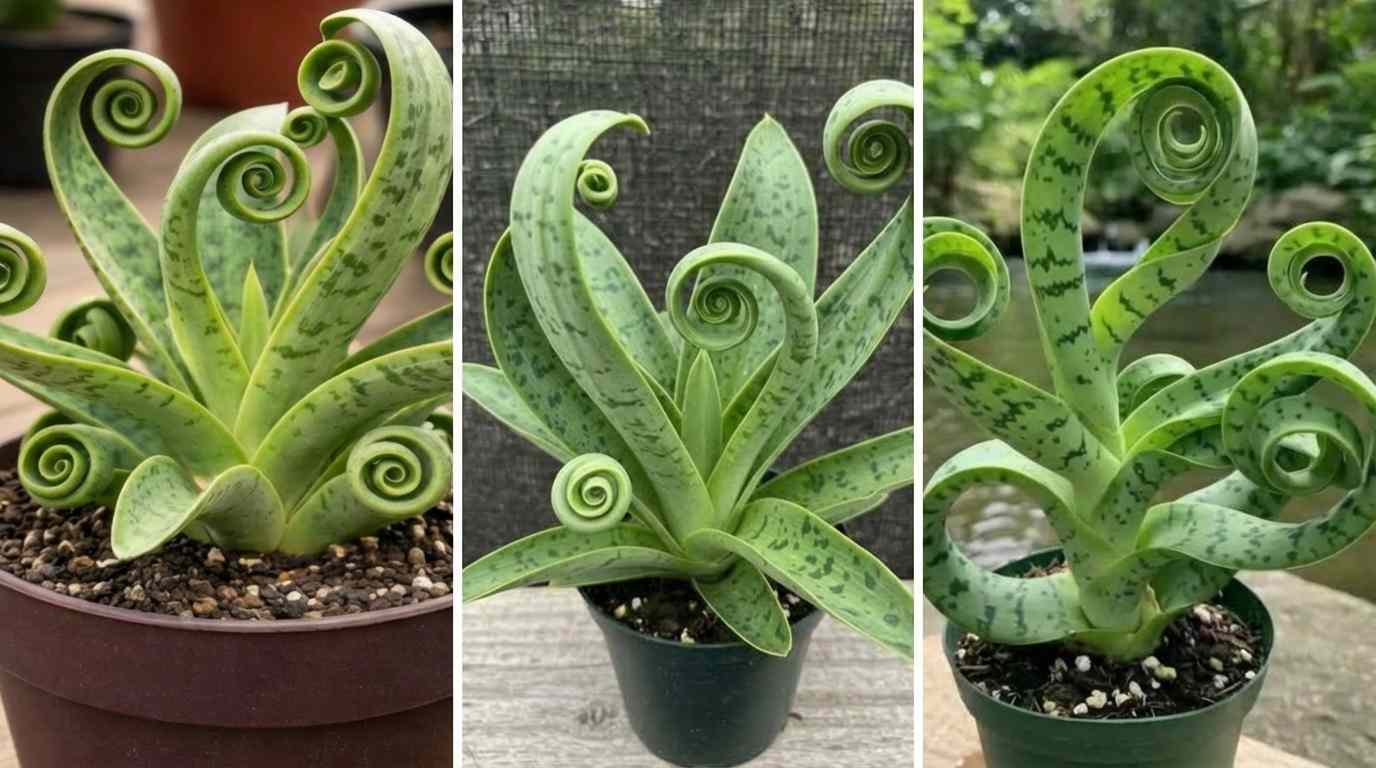
If you’ve ever seen a spiral snake plant in a boutique plant shop or on Pinterest, you probably thought it was a special variety.
It’s not.
Most of those plants are manually trained over time. The truth is, you can create the same spiral effect at home—but only if you follow a realistic method.
This guide is not about theory. It’s about what actually works in real homes, especially in U.S. indoor conditions where light, space, and time are limited.
First, Understand This (Most People Get It Wrong)
Before you start, you need to know one thing clearly:
👉 Snake plants do NOT naturally spiral
That means:
- You can’t “force” a spiral in one day
- You’re slowly training growth direction
- Some leaves may never bend perfectly
If you accept this early, you’ll avoid frustration later.
What You Actually Need (No Fancy Tools)

You don’t need expensive gardening gear. A simple setup works best.
Basic setup:
- A healthy snake plant (medium size works best)
- One thin stake (wooden or metal)
- Soft ties (plant ties / twist ties / cloth strips)
- A bright window spot
- Garden clips
👉 That’s it. No complex tools, no chemicals.
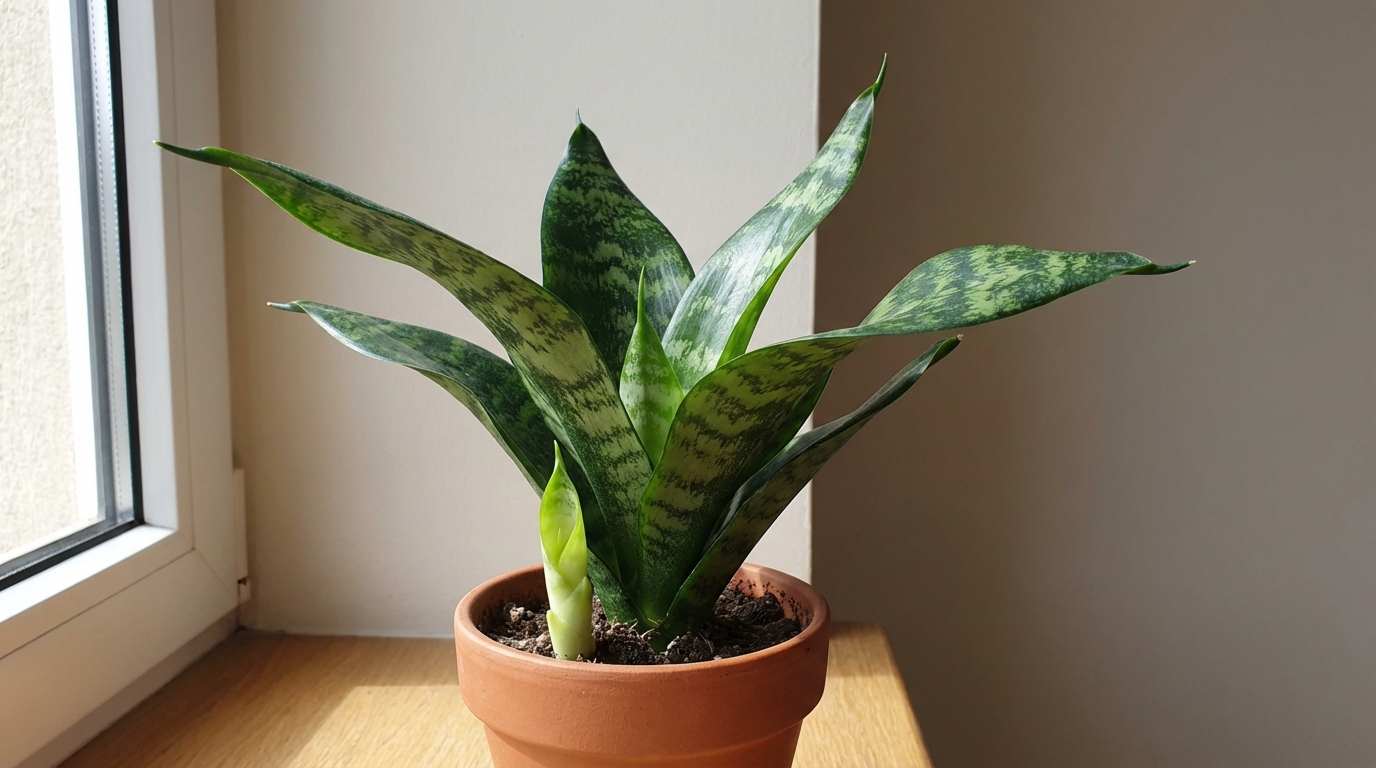
Choose the Right Starting Point (Critical Step)
Most tutorials skip this, but this is where success starts.
Best plant condition:
- 6–12 inch leaves (young but established)
- Leaves slightly flexible (not rock hard)
- No root rot or damage
👉 If your plant is too mature:
- Don’t try to bend old leaves
- Instead, train new growth only
The Real Method
Forget using only one technique. The best results come from combining light direction + gentle training.
Step 1: Set Your Light Direction
Place your plant near a window where light comes from one side (not directly overhead).
Why this matters:
- Snake plants naturally lean toward light
- This gives you a “natural curve base”
👉 Without this step, spiral shaping becomes much harder.
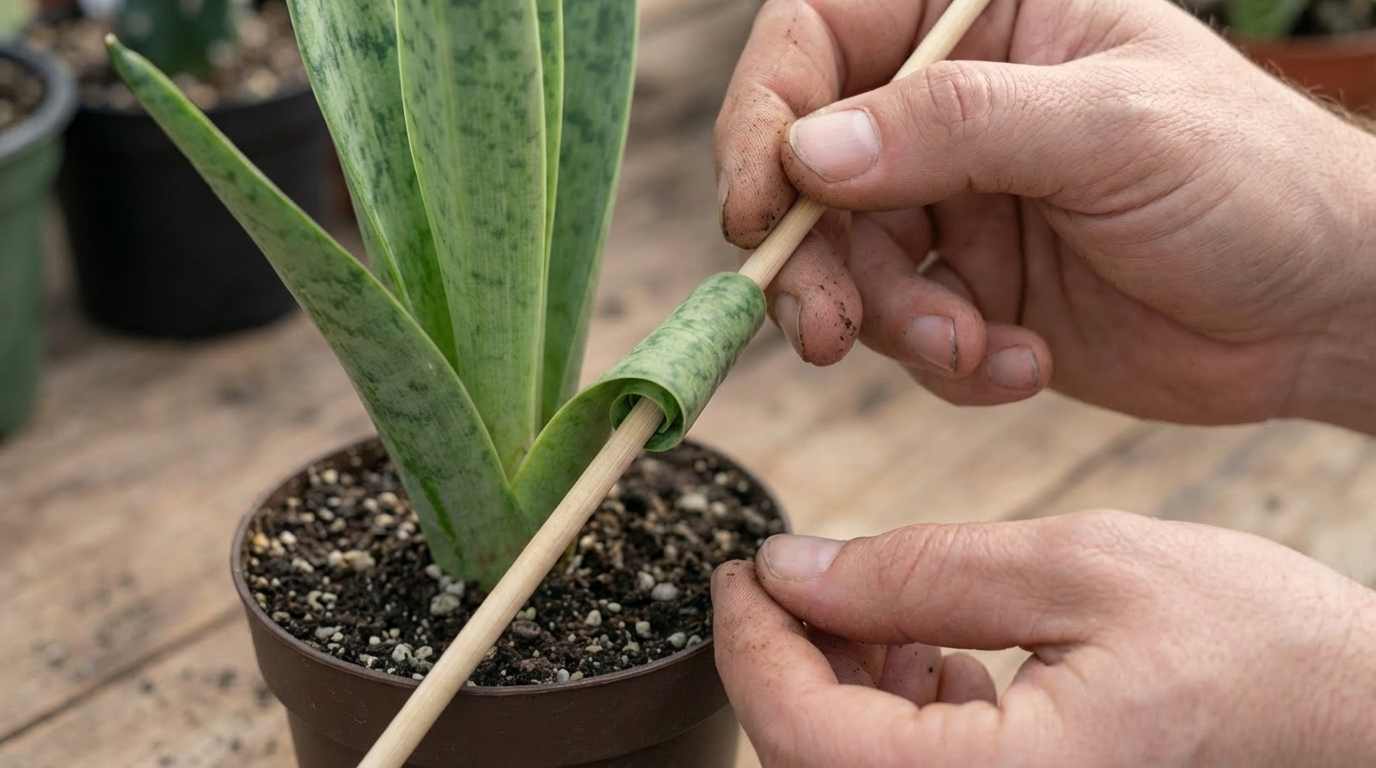
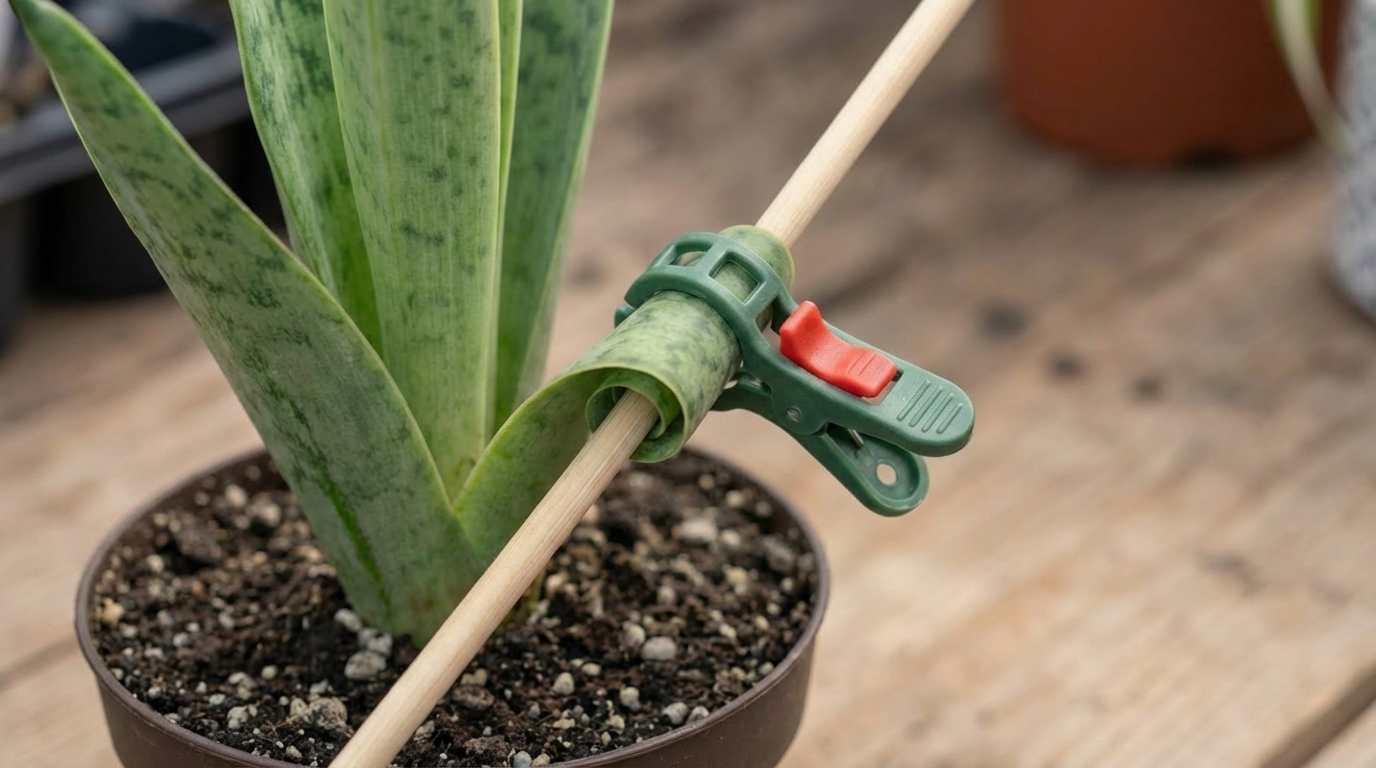
Step 2: Start with One Leaf (Don’t Rush All)
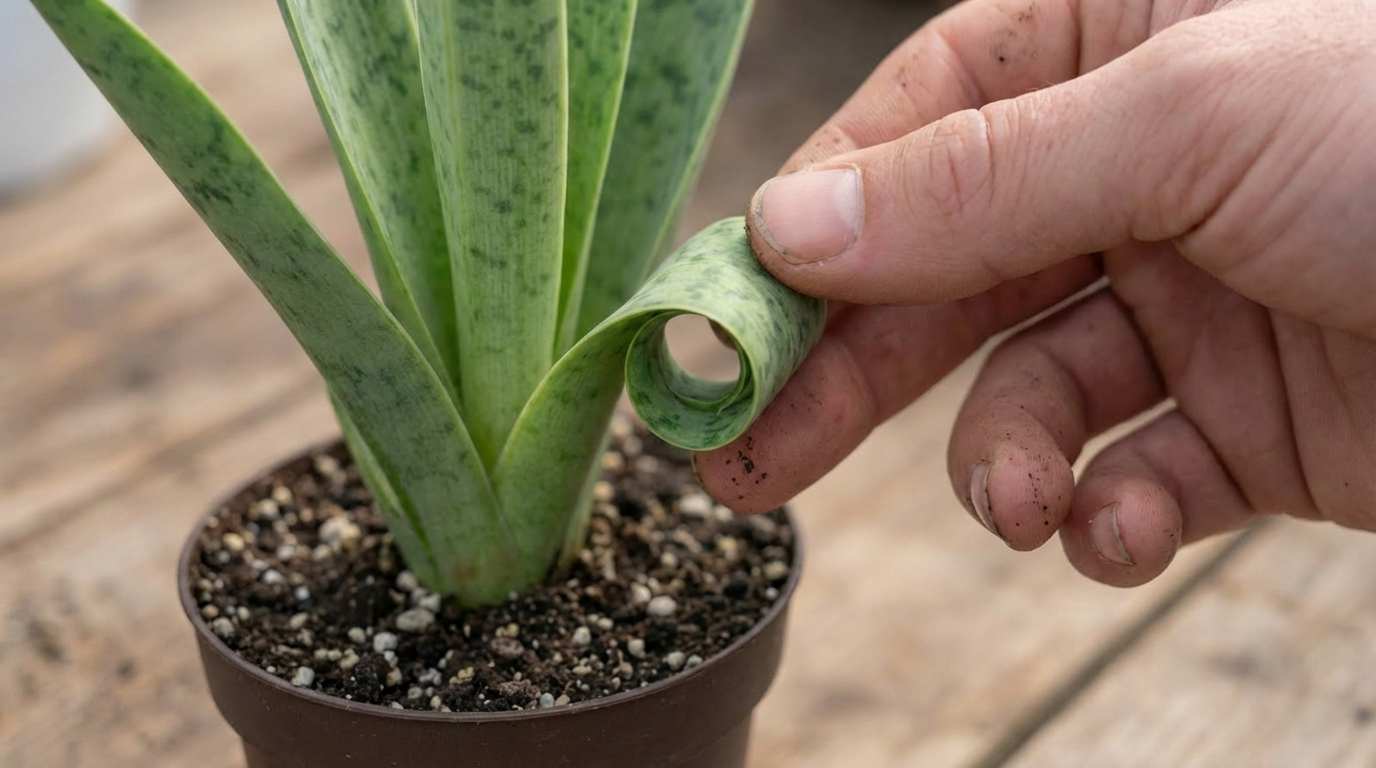
Pick one healthy leaf and begin shaping that first.
What to do:
- Gently guide the leaf slightly to one side
- Tie it loosely to a stake
- Do NOT try to create a full curve
👉 Think: “guide”, not “bend”
Step 3: Rotate the Pot (This Is the Secret)
Now combine manual training with rotation.
Routine:
- Rotate pot every 4–5 days
- Always rotate in the same direction
- Adjust tie slightly after rotation
👉 This creates a natural twist effect instead of forced bending
Step 4: Train the Next Leaves
Once the first leaf starts holding shape, move to the next one.
Important:
- Don’t shape all leaves at once
- Work in sequence
- Keep spacing balanced
👉 This is how professional spiral plants look clean and uniform
Step 5: Gradually Build the Spiral
Over time, each leaf follows a slightly rotated direction.
This creates:
- A layered spiral look
- A more natural aesthetic
- Less stress on the plant
Realistic Timeline (No Fake Promises)
Let’s be honest—this is not a 7-day project.
What actually happens:
- Week 1–2 → slight curve begins
- Week 3–6 → visible shaping
- 2–3 months → clear spiral pattern
- 4–6 months → refined look
👉 Faster = riskier
👉 Slower = better results
What to Do When Leaves Don’t Cooperate
Some leaves will not follow your plan. That’s normal.
Your options:
- Leave them (natural look)
- Slightly adjust direction
- Remove only if they ruin the shape
👉 Don’t aim for perfection—aim for balance
Care While Shaping (Where Most People Fail)
A stressed plant won’t hold shape. Period.
Follow this strictly:
- Water only when soil is fully dry
- Keep in bright indirect light
- Avoid moving plant too much
- Use well-draining soil
👉 Biggest mistake: overwatering during training
Real Mistakes That Kill the Spiral Look
This is where most beginners fail.
Avoid these:
- Bending leaves aggressively → they snap
- Tight ties → permanent scars
- Random rotation → uneven spiral
- Trying to shape mature stiff leaves
- Expecting symmetry too early
👉 Spiral shaping is controlled patience, not force
How to Make It Look Premium

Once your plant starts shaping, presentation matters.
Best styling ideas (popular in U.S. homes):
- White ceramic pot (minimalist look)
- Black matte pot (modern aesthetic)
- Wooden stand (warm contrast)
- Corner placement near window
👉 A spiral plant works best as a statement piece, not background décor
Pro-Level Tips
These small things make a big difference:
- Always train new growth early
- Keep one consistent spiral direction
- Clean dust from leaves (better light absorption)
- Don’t overcrowd the pot
👉 Professionals don’t rush—they refine
Reality Check (Important for Expectations)
Let’s be real:
- Your plant may not look like Instagram immediately
- Every plant spirals differently
- Slight imperfections actually look more natural
👉 The goal is not perfection
👉 The goal is a unique, styled plant
Final Thoughts
Turning a snake plant into a spiral shape is less about technique and more about consistency.
Anyone can do it—but only those who stay patient get the best results.
Instead of buying an expensive pre-shaped plant, you’re creating something custom, personal, and genuinely impressive.
And that’s what makes it worth it.


Will AI Replace Truck Drivers? Here Is What the Data Actually Says in 2026

Fleet Truck Insurance: What Small Trucking Companies Actually Pay and How to Stop Overpaying Before Your Second Truck

How I Went From Broke to $80,000 a Year By Trucking — The CDL Truth Nobody Tells Women

Trucking Insurance Quotes: How I Compared 11 Quotes Before Finding the Right Coverage — and What Every Owner-Operator Must Know First

Owner Operator Insurance: What It Really Costs, What You Actually Need, and What I Learned Running My Own Truck for Three Years
How I Went From Broke to $80,000 a Year By Trucking — The CDL Truth Nobody Tells Women
Owner Operator Insurance: What It Really Costs, What You Actually Need, and What I Learned Running My Own Truck for Three Years
Trucking Insurance Quotes: How I Compared 11 Quotes Before Finding the Right Coverage — and What Every Owner-Operator Must Know First

Commercial Truck Insurance: What I Learned the Hard Way Before My First Big Haul
